I am the parent that gets a little twitchy with toys all over the place. By figuring out how to create labeled toy organizers, our clean-up time has become a lot easier.
It is that fine balance of letting my kids be kids and teaching them how to pick up after themselves. With our kids also sharing a room, we’ve recently had to move all of their toys into the living area.
Mostly to have them use their room as a place for rest. I also am that mom whom you will find reorganizing the toys in the toy boxes. I’m always moving the Shopkins from the Barbie box, back to their own space. Our kids do like to pick up, but keeping toys separate to easily find later is the hard part.
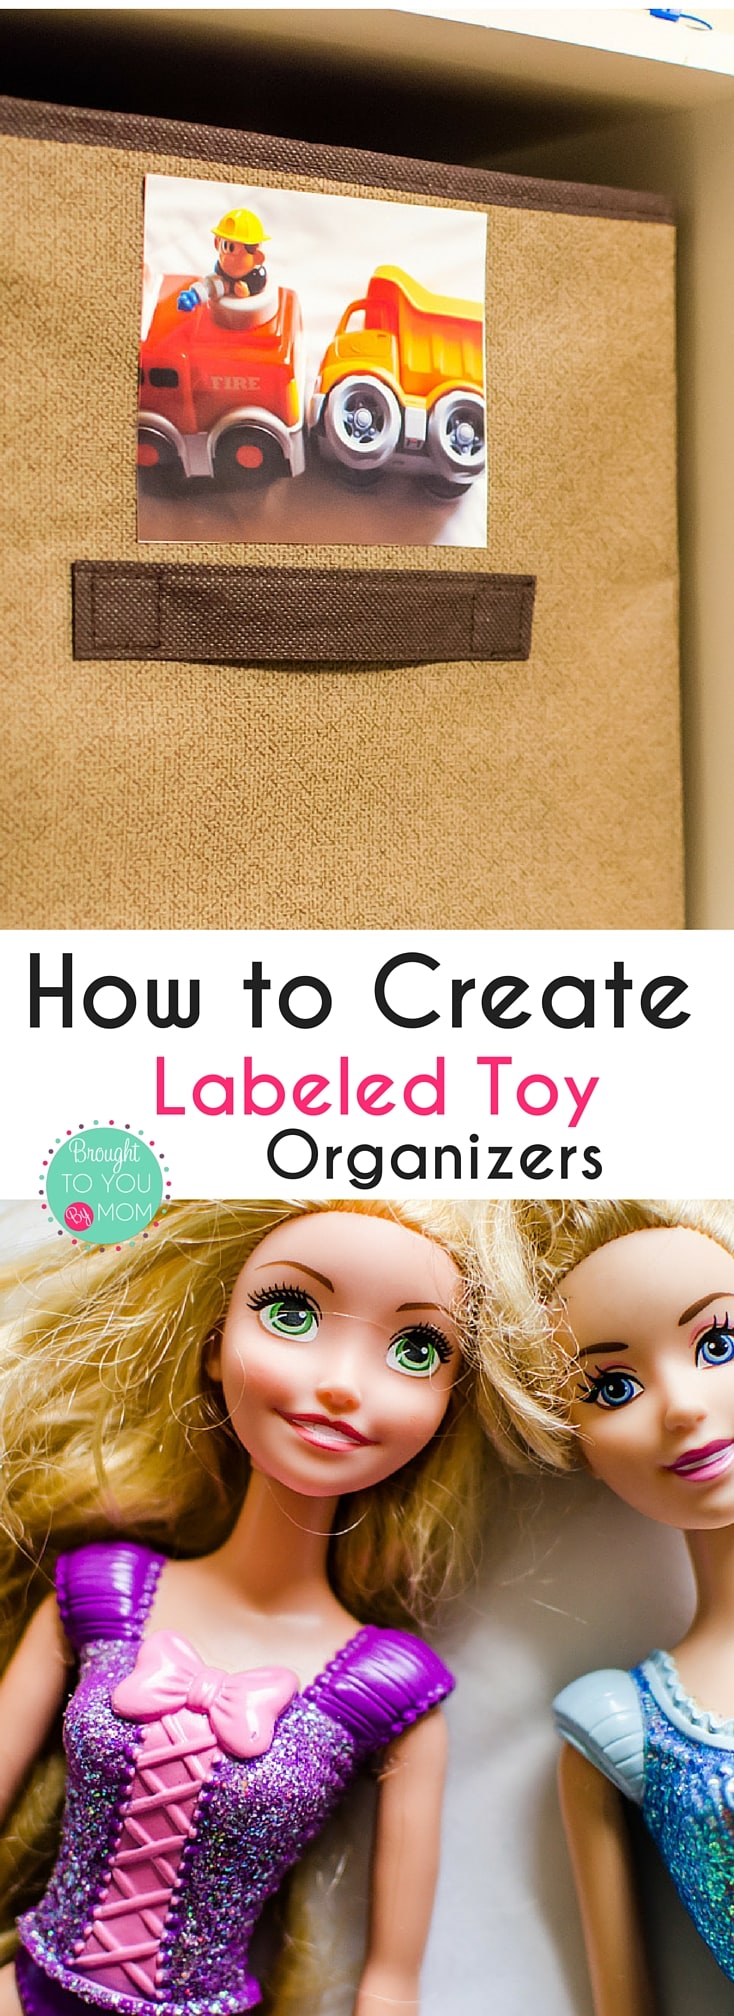

The visual aids used on each toy box in our organizer makes it simple for the kids to remember where each of their toy types goes. There is a box for dolls, a box for the train set, for coloring books, etc. I’ll admit this is even nice for the adults too.
Using fabric cubes and sticky back photo paper, this project was simple to create. I simply took photos of toys that were related to each box and printed those onto the photo paper. I then stuck each of those photos to each fabric cube to be the visual guide. Easy as that.

How to Create Labeled Toy Organizers
What You Need:
- Cube Organizer (if you do not already have one)
- Fabric Cubes (enough to fill your organizer slots)
- HP Sticky Back Social Media Snapshots (comes with 25 sheets)
- Scissors
- Fabric Glue (optional if photo paper has a harder time sticking to fabric)
- Camera to photograph toys
Instructions:
- Grab a couple of each type of toy you would like in each fabric cube. Take clear photos of each grouping of toys.
- Ensure to have your printer settings set to portrait, photo paper and 4×5 selection undersize of the document before printing onto the HP Sticky Back Social Media Snapshot photo paper.
- Trim any of the photos necessary or you may leave a border surrounding the photo.
- Removing the back of the sticky photo paper, place the photo where you would like it on your fabric cubes. Smooth the sides down so that they do not lift. You may add fabric glue to each corner for better hold.
- Show your kids how to check the visual aids for their pick-up time and keep toys organized.

Keep it simple and fun for each of your children to learn how to check the photos prior to putting away their toys.
I think you will find this method to be helpful in keeping toys better organized. I am all about the visual aids and keeping things together. Ready to keep the snacks organized too? Check out my DIY: Kitchen Snack Station.